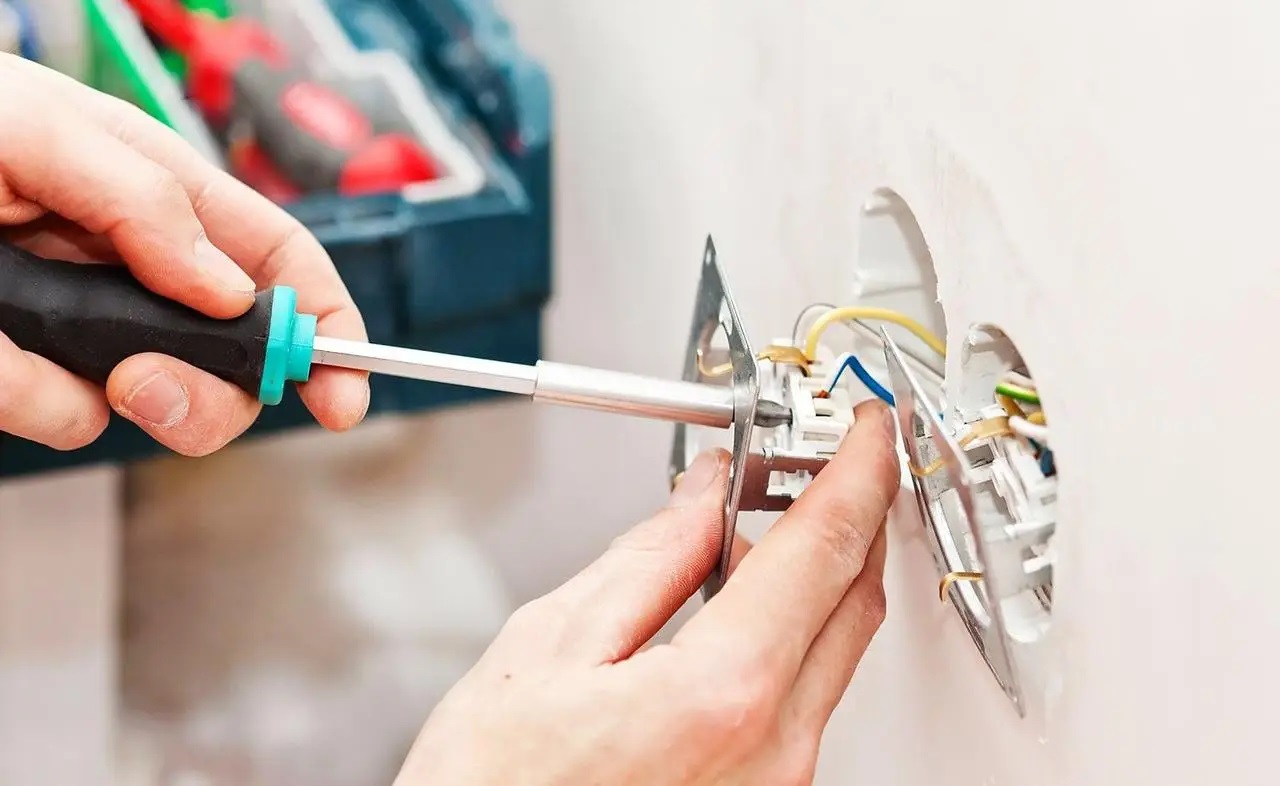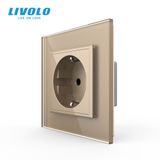


Connecting an electrical outlet or switch is a task that both professional electricians and home DIY enthusiasts encounter almost daily. This process is the final step in wiring a new apartment or house. In today's article, we will discuss how to connect an outlet.
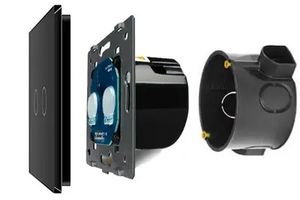
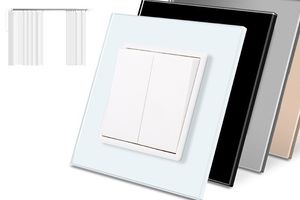
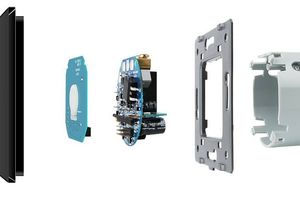
You can do this yourself; it's important to thoroughly familiarize yourself with the procedure and be extremely careful. Modern electrical fittings have an improved design with self-clamping contacts, which significantly simplifies and speeds up the process of connecting even double-type devices.
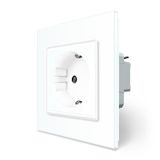
Features of sockets used in our homes
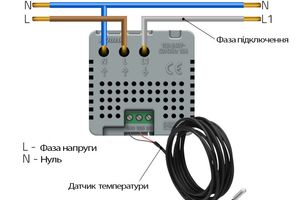
Anyone who connects this device must have some knowledge of electricity and strictly follow safety precautions. Modern buildings are now handed over with three-wire wiring (L, N, PE), as required by current electrical installation regulations.
According to the markings, L stands for the live wire, N for the neutral wire, and PE for the protective earth. For such apartments and houses, you should purchase grounded devices and ensure they are installed in sufficient numbers (ideally in every room and on every wall).
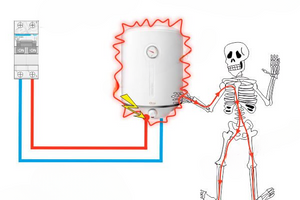
Buildings from the Soviet era have two-wire wiring (i.e., only N and L). Purchasing grounded devices for these is useless; a complete rewiring is necessary. If you are not planning to renovate, it is advisable to install a residual current device (RCD) in the electrical panel. This will protect residents from electric shock in case of emergencies.
Basic options for connecting electrical outlets
It is worth noting that the wiring scheme for flush-mounted and surface-mounted outlets is the same—the difference lies only in whether they are installed on the surface or concealed.
The appropriate option is chosen depending on the load, and this can be one of three types.
Parallel connection
It is done directly from the electrical panel to each device using a separate cable. The wire gauge should be at least 2.5 mm². This is an expensive option, as the costs for conductors and wall chasing increase several times. This method is typically used in new or already modernized older buildings.
Series connection
This connection option means that a group of devices is powered from a single line. When choosing to connect outlets in series, branching is done using special terminals, soldering, or twisting. However, it should be noted that this method is suitable only for low-power devices.
One of the simplest methods of such connection is the daisy chain method (making several from one device). In this case, the power cable is brought into one junction box and then a loop is run to another, bypassing the distribution box. It is very important that the gauge of all jumpers is the same as that of the power cable.
The mixed method combines the first two. It is an economical, fairly quick, and most convenient option. Depending on your needs, you can choose any of the above methods.
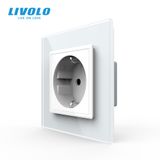
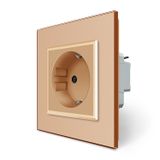
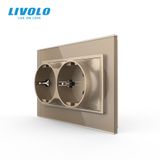
How to connect a double socket?
Double devices are very common in our homes because they are convenient and practical. Their installation is especially relevant in the kitchen, where multiple appliances often need to be connected simultaneously. There are three ways to connect such devices to the network.
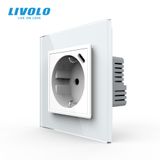
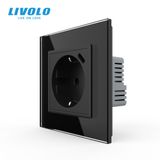
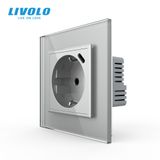
In one socket box
Such a device is installed exactly like a single one, but it is important not to clamp the neutral and live wires with the terminals of a single bus bar. This can lead to emergency situations in the future.
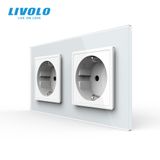
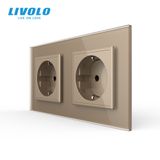
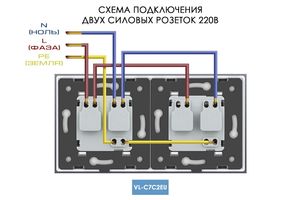
Two sockets from one cable
How to connect two outlets from one wire? There are no complications if you approach the task wisely. This can be done using the daisy chain method. Determine the necessary distance between the installation boxes and bring the power cable from the main network into one of them.
It's important that all wires have the same gauge. Then, using the daisy chain, connect the outlets into a single electrical point. Be sure to strip the insulation from the ends of the wires during the process. Next, install the block into the mounting box: first, insert the outlet with the power cable, then the second device. Secure the entire structure firmly with screws. Close the unit with the outer cover and a common frame, fixing them with screws. Turn on the power and check if the outlets work using a tester.
Parallel connection
This type of connection is most often done with grounding. A single outlet is installed in each of two adjacent mounting boxes. Separate power wires are run to each outlet, but they can be placed in the same groove.
Next, the installation site is carefully cleaned of debris and dust. The insulation is carefully stripped back about 10 mm. The conductors are spread apart and bent downward, and then everything is secured with bolts.
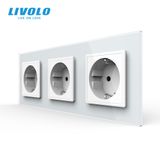
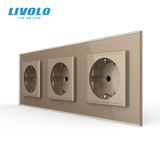
Connecting a triple socket
We've already looked at how to connect a single outlet. Now, similarly, let's discuss how to install a device with three sockets. This can be done from a distribution box by connecting each device either in series or by branching one outlet from another.
The first method is more common. First, understand how to connect the outlets together. This is done simply: using jumpers, sequentially connect all the outlets into a single unit. Then, connect all the wires of the outlets to the corresponding wires of the distribution box according to electrical code standards.
It's important not to confuse the connection points for the grounding wire. After installation, secure the device with bolts and apply power. If everything is done correctly, the device should work. You can test it by plugging in a phone charger or lamp. Now you know how to connect a triple socket outlet.
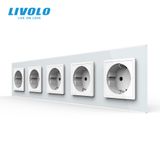
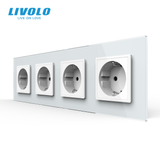
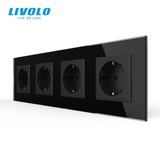
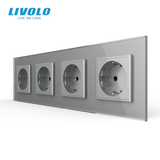
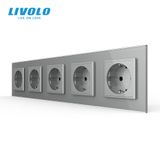
Features of the arrangement of a four-bed block
If you're curious about how to connect a four-socket outlet, the process will resemble the previous ones. The same methods with jumpers are used here. All outlets are connected first to each other to form a single point, and then you proceed similarly to the methods listed above.
The power cable is brought into the first outlet and connected to the network. Then, the contacts of the outlet block are interconnected. Finally, the entire structure is covered with a decorative frame and secured with screws. You may have noticed that this method can be used to connect not only a four-socket outlet but also any other quantity as needed.
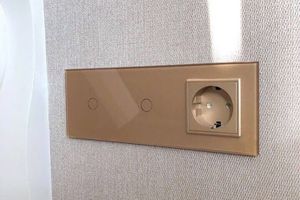
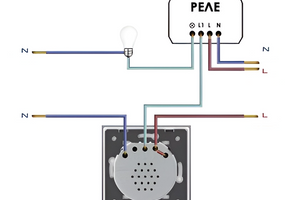
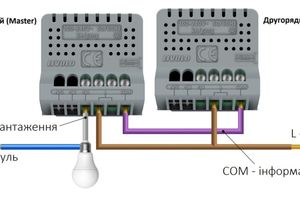
Connecting the "socket - switch" unit
Very often, there are units where a switch is integrated with a socket outlet. Connecting such a device has its specifics. The sequence of actions looks something like this:
- First, the phase cable needs to be run from the distribution box to the input terminal of the switch.
- Next, from the output terminal of the switch, this same cable is connected to the contacts of the socket outlet.
- The neutral cable is connected directly to the corresponding terminal of the socket outlet.
- The same procedure applies to the grounding cable.
Before connecting, make sure to strip the ends of the wires of their insulation by approximately 10-15 centimeters. After completing the installation, insert the socket with the switch into the mounting box and secure it with bolts. Then, turn on the power and check the device's functionality.
As you can see, connecting sockets and switches is not a very complicated process; the main thing is to have basic knowledge of electricity, follow the instructions, and strictly adhere to safety rules. Working with electricity requires caution, as even minor mistakes can lead to short circuits or serious electric shocks.
Remember, all work should be done with the power turned off. Do not neglect your safety, as electric shock can be life-threatening.