


A pass-through switch is a device that allows you to control lighting from multiple locations that are some distance apart. Pressing the switch locks its position until it is pressed again, and the order of pressing does not matter. What is important is knowing how to connect the three-way switch correctly.

For example, you enter a house and turn on the light with one switch, then walk to the end of the hallway and turn it off with another switch. Similarly, you can set up lighting on a staircase or in a large entryway.
By using relatively affordable and easy-to-install devices, people can effectively manage lighting in large and elongated spaces, as well as on staircases. This system can even be implemented in small rooms, such as a bedroom or a child's room. One switch can be placed by the door, while the other could be positioned near the bed, for instance.
Design features of the presented device
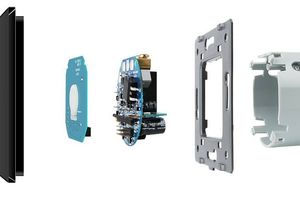
We’ve covered what a three-way switch is. Now let’s take a look at its construction. This type of switch differs from a standard one by the number of contacts. While regular switches have two contacts, three-way switches have three.
The most common and well-known type is the single-pole switch. It controls electrical circuits with a single appropriate cable and differs from a standard switch by having an additional terminal contact.
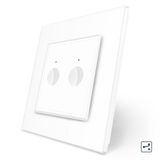
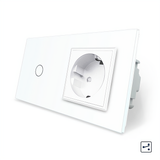
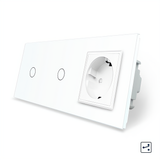
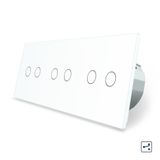
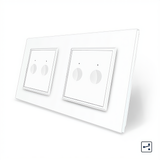
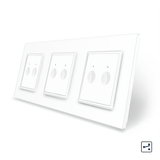
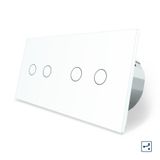
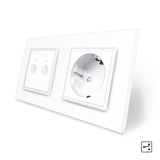
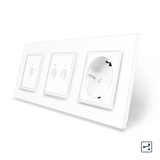
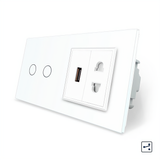
What does a three-way switch mean? It is an electrical device with three contacts—one terminal for input and two for output—that allows you to control a single lighting circuit. A model with two switches has six contacts, intended for managing two circuits.
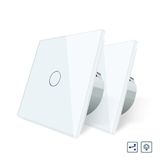
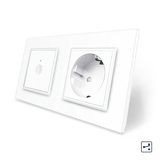
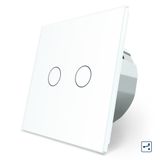
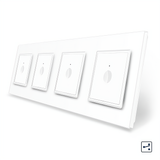
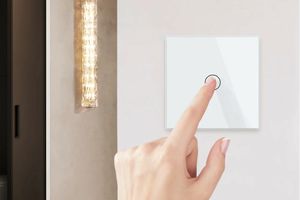
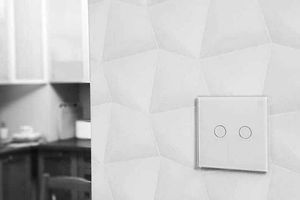
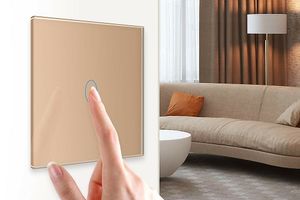
Visually, a three-way switch is almost indistinguishable from a regular switch. The main difference is found in the contact group hidden inside the casing, with the only external distinction being the characteristic triangular symbols on the switch.
How does the equipment function?
We’ve already covered what a three-way switch is, so now let’s understand how it works. The key feature of this model is its use of a switching contact.
Two three-way switches are connected to each other with electrical cables, making them interdependent. This setup allows you to control a single light source from two different locations, making lighting in a home or office more convenient and modern.
To ensure proper connection of the three-way switch, you need to follow wiring diagrams that guarantee its correct operation. Next, we'll look at how to connect a three-way switch so that it performs its functions effectively.
Installation process
As you might have already understood, connecting a three-way switch allows you to control lighting from multiple points. This option is especially useful in long hallways, on staircases, and in spacious areas. The principle behind the three-way switch is that it enables you to turn the light on and off from two or sometimes more locations, greatly enhancing convenience in its use.
To connect a two-way switch for simple and comfortable operation, you need to start by selecting the appropriate components. For a standard setup, you will need two three-way switches. If you need to control the lighting from three or more locations, you'll also need one or more four-way switches.
You will also need electrical cable and a junction box. Before starting the installation, it is crucial to turn off the power to the area to protect yourself from electrical shock. Once you’ve confirmed that there is no voltage in the system, you can proceed with the installation.
How the connection itself occurs
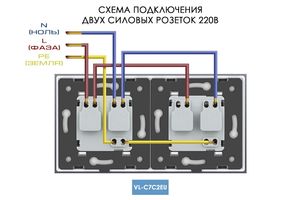
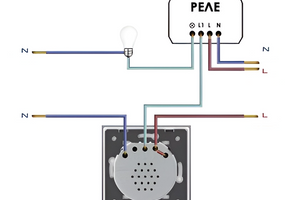
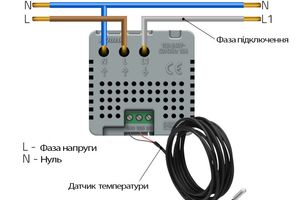
The next step is to run the wiring. Keep in mind that the conductor should go from the first three-way switch to the light fixture, then to the four-way switch, next to the second three-way switch, and finally back to the power source. This setup creates a circuit that allows you to control the light from different locations.
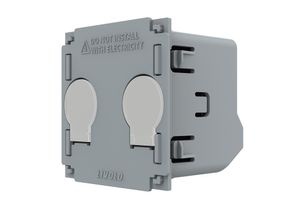
Now you can move on to installing the switches themselves. Typically, these devices have three contacts: a common contact and two traveler contacts. The wiring connections are as follows:
- Connect one of the wires to the common contact of the first switch, and connect the remaining two wires to the traveler contacts.
- These same wires should be connected to the contacts of the second switch in such a way that it allows for the closing and opening of the circuit when any of the switches are pressed.
- If a four-way switch is used, it should be installed between the two three-way switches. This model has four contacts, which are paired and connected to the two three-way switches. This setup enables cross-switching, where each switch can control the light.
After completing all the steps, you can turn the power back on in the house and test the system to ensure it works correctly. If everything is done correctly, the light should turn on and off with any of the switches, regardless of their location.
Why is this necessary?
The use of three-way switches significantly enhances comfort in a home or office. The ability to control lighting from multiple locations eliminates the need to return to a single switch point and makes operation more convenient.
This approach is especially useful in large spaces with high foot traffic, such as hallways and staircases.
Installing three-way switches doesn't require significant investment but adds considerable comfort to daily life, making lighting control a simple and intuitive process. We hope you now have a good understanding of how to connect a double three-way switch. In reality, it's not as complicated as it might initially seem.
Can a regular switch be turned into a two-way switch?
Many homeowners are interested in how to convert a standard switch into a three-way switch. This process is indeed possible and won't take up too much of your time.
All you need to do is create a third contact. You should purchase two standard switches, preferably of the same size and manufacturer. It's also important that the switches are universal models and have either three or eight terminals. This is necessary for independent circuit switching.
The process looks like this:
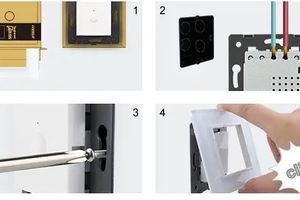
- Turn off the power to the system.
- Loosen the mounting screws and remove the contents from the junction box.
- Determine the location of the live wire.
- Rotate one of the contacts 180 degrees.
- Cut one of the contacts from the common group and secure the removed part of the switch in place.
It’s not difficult to do; the work will take you just a few tens of minutes.
It’s also worth considering how to connect a two-way switch as a standard switch. Both intermediate and three-way models can perform the functions of a simple switch. However, this is only feasible if the electrical circuit is simple and there are few points.
When connecting a three-way switch as a standard switch, you only need to connect two of the three contacts. We hope this information has been helpful to you. Remember to be cautious with electricity, and if you lack experience, it's best to consult a professional.