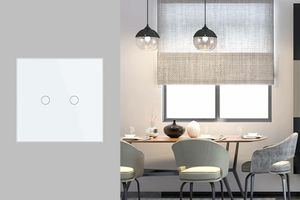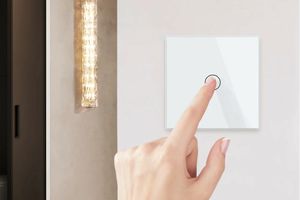


In spaces where the availability of electrical power is provided, switches must be installed. Among all existing options, models equipped with illumination are considered the most convenient. This is why many people are interested in how to connect a switch with a light indicator.
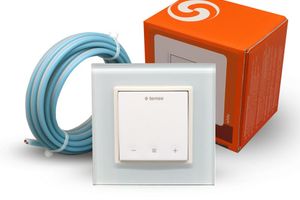
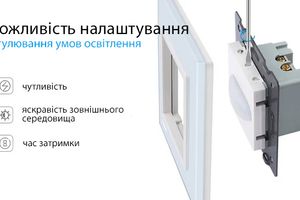
These devices are essential in any room, as they allow you to turn the lights on and off. Modern models feature programming functions (for example, for use with 'smart home' systems or 'heated floors').
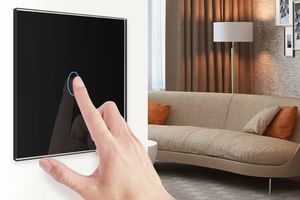
How does a backlit switch work?
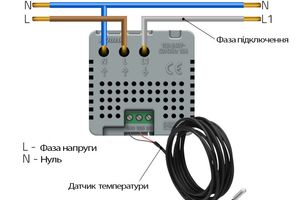
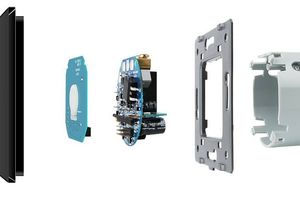
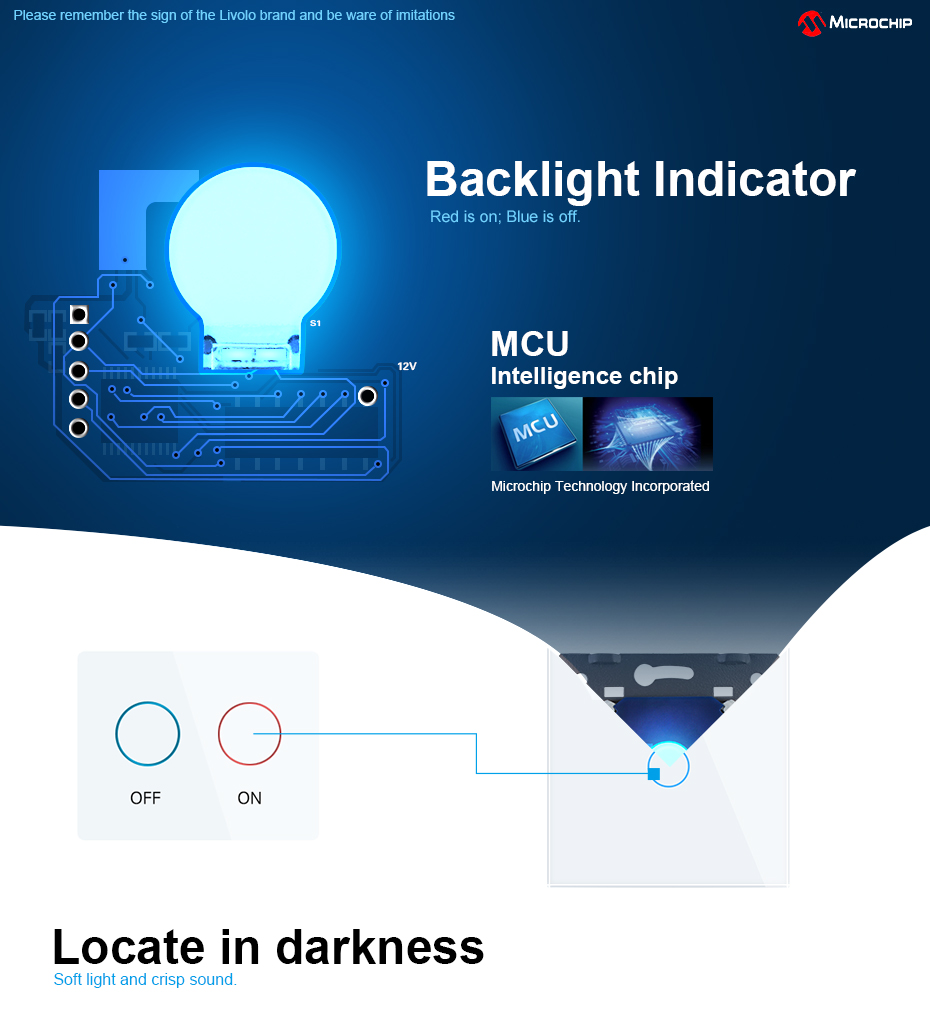
The main difference between this type of equipment and standard options is the presence of a light indicator. This could be an LED or a small neon bulb. In fact, the wiring diagram for such a switch is not complicated, as the indicator is connected in parallel to the terminals.
When the switch is off, it connects to the neutral conductor and begins to glow. If the device is turned on, the indicator switches to the same position. However, it is important to note that this type of switch sometimes requires an adapter when connected to fluorescent lamps, certain LEDs, or devices with a starter regulator. In terms of functionality, these devices can be one-, two-, three-, or four-gang switches, cord-operated, or push-button types.
Before we delve into how to correctly connect a switch with a light indicator, let's look at its advantages:
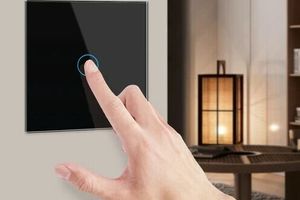
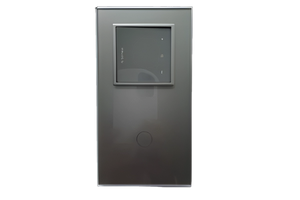
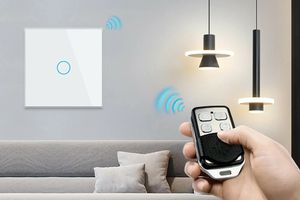
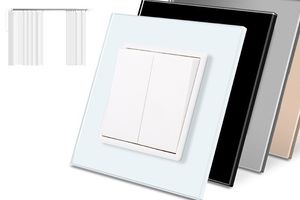
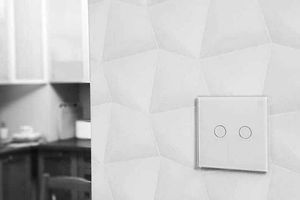
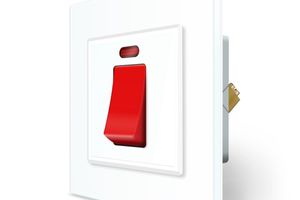
- The design and appearance of the switch are very similar to standard devices. The only difference is the light source on the front panel, making the switch more visible in the dark.
- Most circuits are energy-saving, meaning they are economical and consume very little electrical energy.
- Connecting a diode or bulb does not require much power.
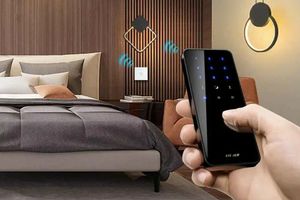
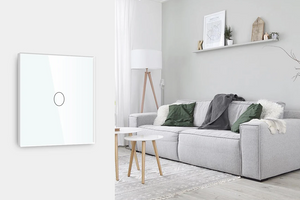
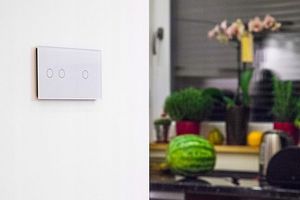
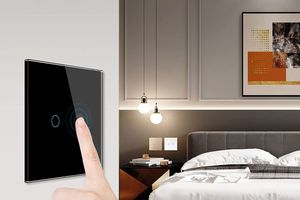
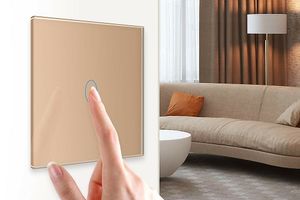
This type of equipment is often installed in bedrooms, as the illumination helps to quickly orient oneself in the dark after sudden waking.
Types of switches depending on the type of lighting
The type of light source is one of the main parameters to consider before connecting a two-gang switch with a backlight. The following options are distinguished:
- With an LED. Such switches can improve efficiency and reduce energy costs.
- With a resistor. This wiring scheme has a significant drawback: the switch will not function properly if the lamp or other device uses an LED light source. This is because such a switch cannot generate high voltage, and LED devices have high resistance. It's better to use this type with incandescent bulbs.
- With a neon lamp. This type of device is almost devoid of drawbacks. It can work with almost all lighting fixtures, including simple, fluorescent, or LED bulbs.
Currently, switches of all the above-mentioned types are successfully used in everyday life.
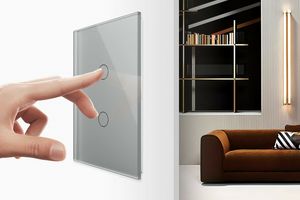
Basic Rules for Connecting a Switch with Backlight
Almost all types of the devices mentioned are connected in the same way, but there are some minor differences. Let's look at how to connect a double switch with a backlight and discuss its single-gang counterpart.
Installing a Single-Gang Switch
Installing a single-gang switch with an indicator is the simplest. First, turn off the electricity at the breaker panel and remove the old switch. To do this, you need to:
- Remove the switch lever using a flathead screwdriver.
- Carefully take off the decorative plate.
- Unscrew the connecting screws.
- Loosen the mounts and disconnect the wires.
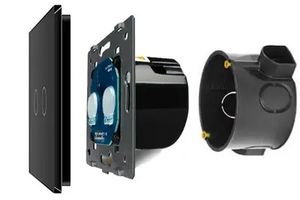
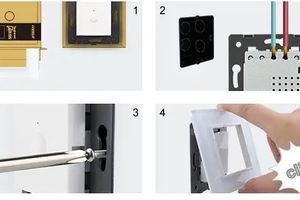
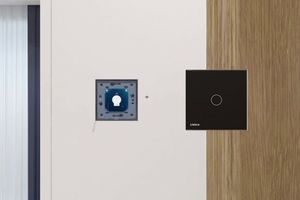
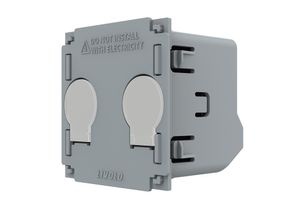
Next, we move on to how to properly connect a switch with backlighting. To do this, we insert the internal parts of the new device into the socket box and attach the wires to the contacts.
Then, screw in the bolts to secure the switch, place the cover plate on top, and insert the switch lever. Once all these steps are completed, turn the electricity back on and test the switch. If everything is done correctly, the indicator on the switch should light up immediately.
Installation of Multi-Key Variants
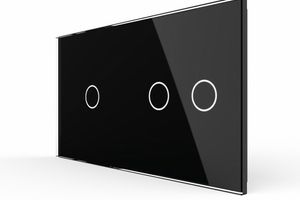
If you’re interested in how to connect a two-key switch with illumination, this information is for you. The process is almost identical to the previous one, but with some nuances, as there will be more contacts involved.
The connection process is carried out as follows:
- First, remove the old equipment. We’ve already described how to do this above.
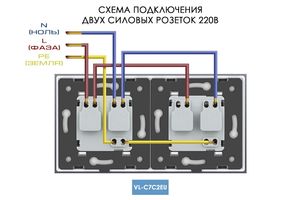
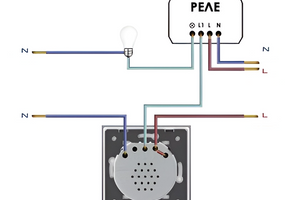
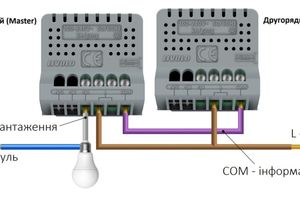
- Next, in the junction box, you will have three wires left. One indicates the incoming power, and the other two are for connecting to the lighting fixture.
- Then, use a tester to locate the live wire. This needs to be done very carefully, as you will be working with live voltage. Turn off the power and strip the wires of insulation.
- Now, take the new switch, set it to the "off" position, and sequentially connect all the contacts and tighten the screws.
- Connect the live wire to the plate with a separate screw, then insert the internal part into the mounting box.
Secure the components with bolts and install the switches. Finally, turn the power back on and check if the device operates correctly.
Can the Illumination in the Switch Be Disabled?
We’ve discussed how to connect a switch with illumination, and now we want to explain how to turn off this indicator. Why? The thing is, this neon light does consume electricity. If you need to be away for an extended period (e.g., on a business trip or vacation), it’s better to disable the indicator to avoid paying extra for electricity.
Modern switches with illumination allow you to turn it off either temporarily or permanently. Disabling the light bulb is just as easy as connecting a switch with illumination for 3 contacts.
To start, make sure to turn off the electricity. Next, you need to remove the switches and the decorative cover. Unscrew the screws and take out the contents of the junction box. Disconnect the wires from the contacts, locate the LED, and cut the wire leading to it. Finally, reassemble the device.
As you can see, installing and connecting a switch with an indicator is quite straightforward. You can do it yourself with minimal effort, time, and tools.
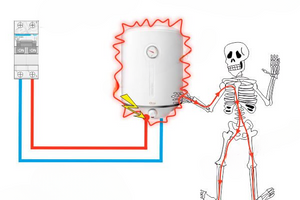
The key is to approach the task responsibly and remember that you are working with electricity, so it's important to follow safety rules.