Multi-Location Lighting Brightness Control
Comfort is made up of small details, and proper lighting is one of them. The dimmer not only allows you to turn the lights on and off but also lets you smoothly adjust their brightness, creating the perfect atmosphere for any moment.
A master dimmer and companion switches are used to control lighting from multiple locations. This allows you to conveniently operate the lights no matter where you are in the room.
Turning the lights on, off, and adjusting brightness is done using the master dimmer. From other locations, the companion switches can be used to turn the lighting on and off. Whenever the lights are switched on, they return to the last brightness level that was set on the dimmer.
Thanks to its memory function, the dimmer remembers the last selected brightness level even after the lights are turned off. There is no need to readjust the lighting every time — the dimmer recalls your preferred setting with a single touch.
This solution is especially convenient for bedrooms, hallways, staircases, and large rooms. It brings greater comfort to everyday life, helping you create a cozy atmosphere for relaxation, work, or enjoyable moments with family and friends.
Features
- Allows for controlling lighting from multiple locations.
- Provides smooth regulation of light intensity.
- Can be used with any light source from 25W to 500W;
- Sensor is illuminated in blue and red;
- Can be installed horizontally or vertically;
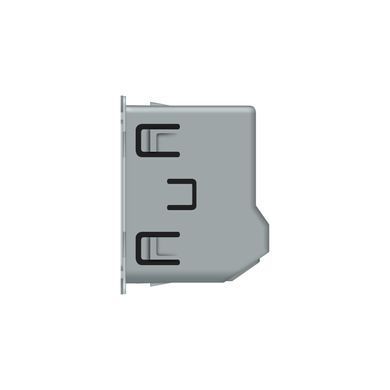
- Can be installed in both standard and deep mounting boxes;
- Simple and quick installation with screw connection;
- Up to 5 switches can be installed in one frame;
- Mounted to the mounting box with screws;
- Durable painted metal holder;
- Used with a tempered glass frame;
- Capacitive sensor.
Kit includes
- Livolo touch switch;
- Screws for mounting;
- Instruction manual;
- Box.
Wiring diagram 2 way dimmer
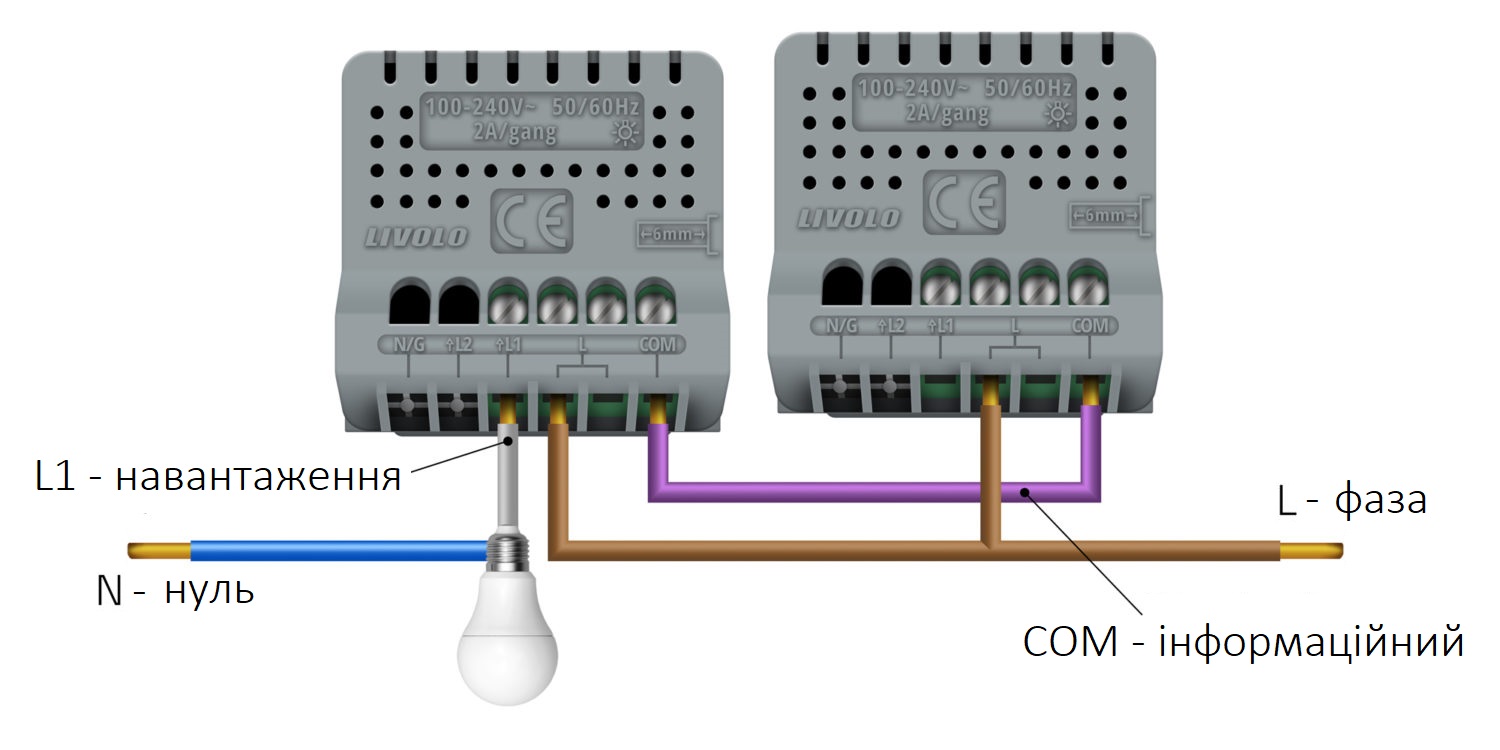
Wiring diagram for a 2-way dimmer switch that allows for controlling the brightness of a lighting device from two locations:
- Connect the phase voltage to the "L" connection point on both switches.
- Connect the two switches with an information wire at the "COM" connection point.
- Connect the lamp wire to the "L1" connection point on the dimmer.
After connecting the wires and restoring power to the switches, programming is required. Programming should begin with the Master switch. For more information on programming, please refer to the instructions.
The Master switch is the dimmer that operates in on/off and brightness control modes.
The Slave switch is the pass-through switch that operates in on/off mode. It sends on/off commands to the Master switch.
To connect the Master switch, use the following terminals: L - phase, L1 - load output, COM - information.
To connect the Slave switch, use the following terminals: L - phase, COM - information.
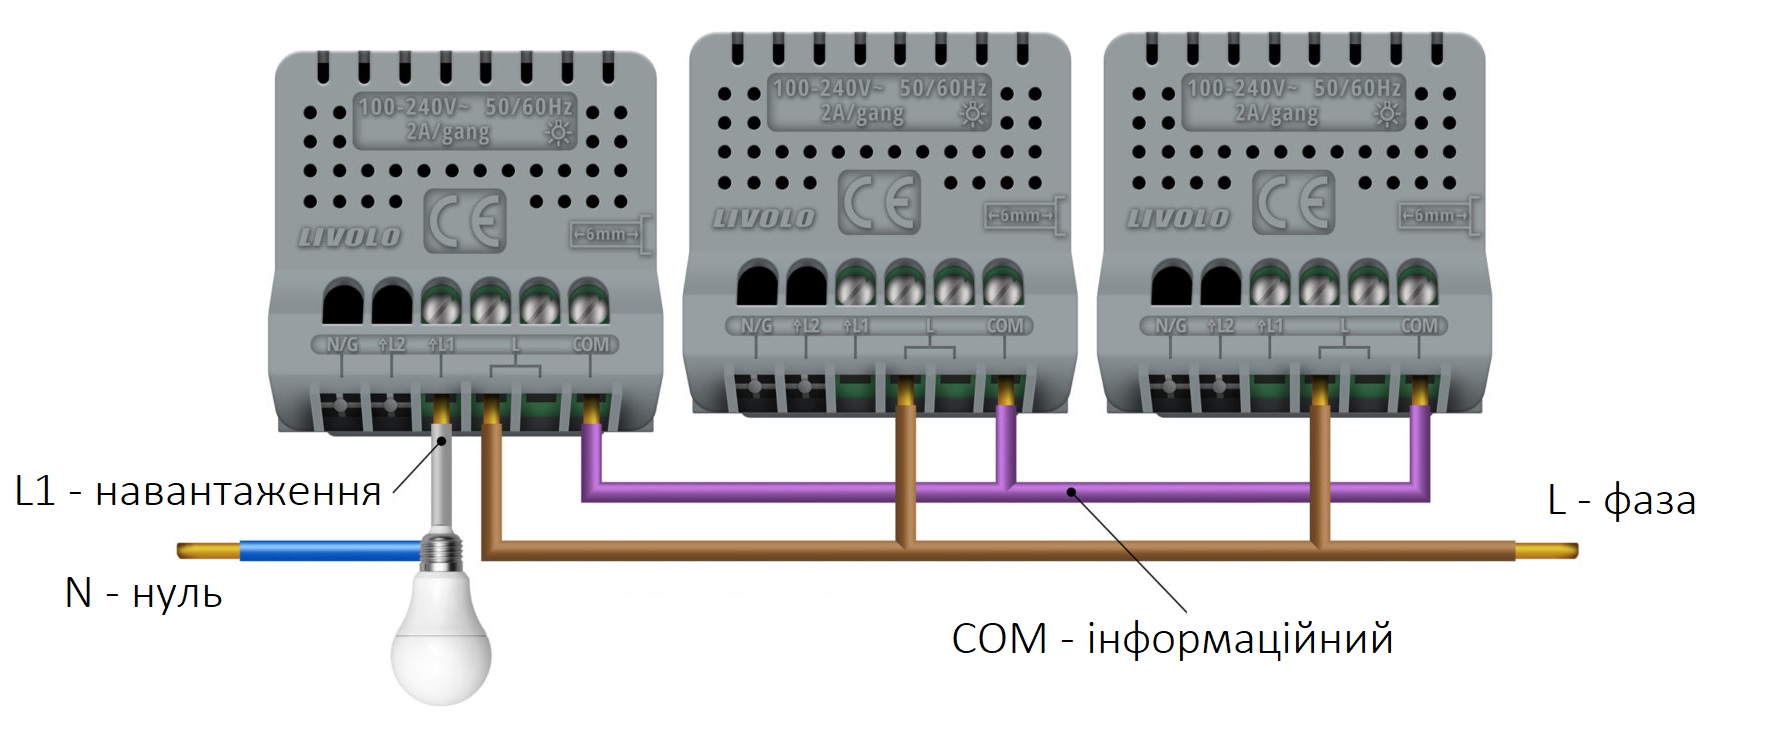
If you want to control the lighting from three different locations and regulate the brightness, use the provided connection diagram. Connect the live wire to the "L" terminal on all three switches, connect all three switches with an information wire at the "COM" terminal, and connect the lamp wire to the dimmer at the "L1" terminal.
After connecting the wires and re-connecting the power to the circuit, the switches need to be programmed. Programming should start with the Master switch. Learn more about programming.
Installation and connection instructions
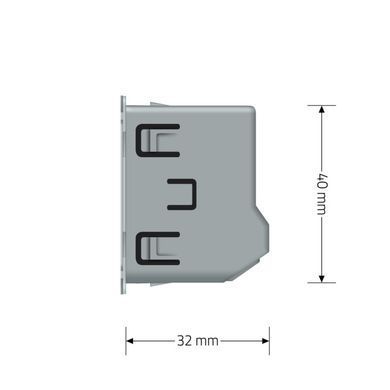
The switch is installed in a round mounting box
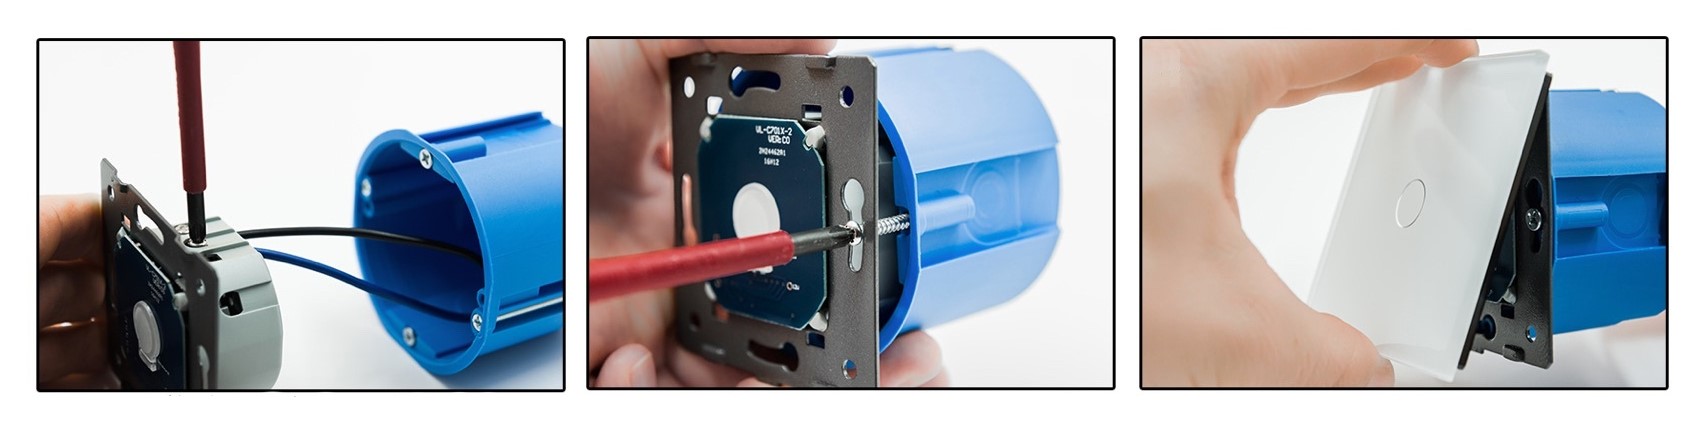
Designed for touch panel mounting
Touch panel and Mounting frame is supplied separately












 Pickup from the branch from UAH 70
 Delivery to the post office from UAH 50
 Courier to the address from UAH 100
 Pickup from the branch from UAH 30


 Online by Visa or Mastercard
 Payment by parts PrivatBank
 Hire Purchase monobank
 Payment by IBAN details
 Payment upon receipt
 Warranty - 5 years
 Returns within 14 days
 Exchange within 30 days
 Accumulative discount