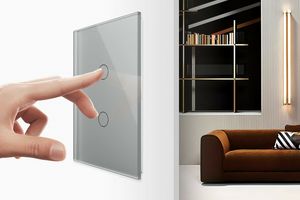


This is a widely used device that is sensitive to movement. When integrated with lighting in a home, cottage, or villa, such a device automatically turns on lamps or spotlights when a person enters the detection zone. It is quite relevant to consider how to connect a motion sensor.
A motion sensor is very convenient, especially in stairwells in apartments, when descending into a basement, or near a garage entrance, by gates, and many other locations. Additionally, such a detector significantly helps save on electricity consumption, as lighting will be available only when you need it.
Applications of Light Sensors
The devices in question are universal and are found in many locations. Such lighting is most commonly installed in outdoor areas, in utility rooms, and in places where there is a large area that needs to be illuminated, but where constant lighting would be too costly. The lamps will turn on only when you, your guests, or an intruder approach the garage, shed, warehouse, and so on.
Connecting and consistently using such sensors with security equipment is also very useful. In this case, they are needed not so much for lighting, but for signaling, to alert you to the presence of strangers approaching the property. In these situations, it's important to know how to connect a motion sensor to a spotlight.
Operating principle of the detector
Before delving into the installation of the equipment, it's important to understand how a motion sensor works. Every organism and object emits infrared light, and the human body is no exception. The sensor does not react to the light waves themselves, but rather to changes in these waves.
When an object appears in the sensor's coverage area, the temperature in the thermal field changes. The device responds to this change. For example, if a person enters a garage, a signal is sent to the controller, and the light automatically turns on.
As long as you are within the sensor’s range, the light will remain on. It will turn off a few seconds after you leave the area. To ensure the process is automated, it’s important to know how to properly set up and connect the motion sensor according to the technology.
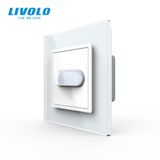
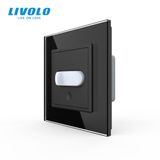
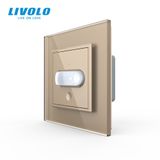
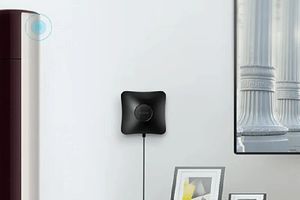
How to determine where to mount the device?
Before installing a motion sensor, it's important to choose the right location where it will work continuously:
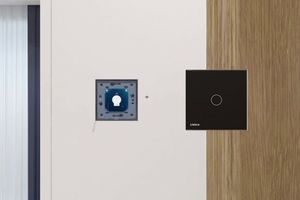
- The device can be mounted on either the wall or the ceiling.
- Choose the location based on the size of the area that needs to be monitored.
- It's important to note that wall-mounted and ceiling-mounted models differ in their characteristics.
Ceiling-mounted options have a wide field of view – up to 360 degrees. With a detection range of up to 20 meters, this type of sensor can cover the entire required area.
Wall-mounted models have a field of view of only 120 degrees, and their detection range is 0.5–5 meters. They are best placed in a corner area – this not only ensures a good view but also eliminates blind spots. The ideal installation height is two and a half meters.
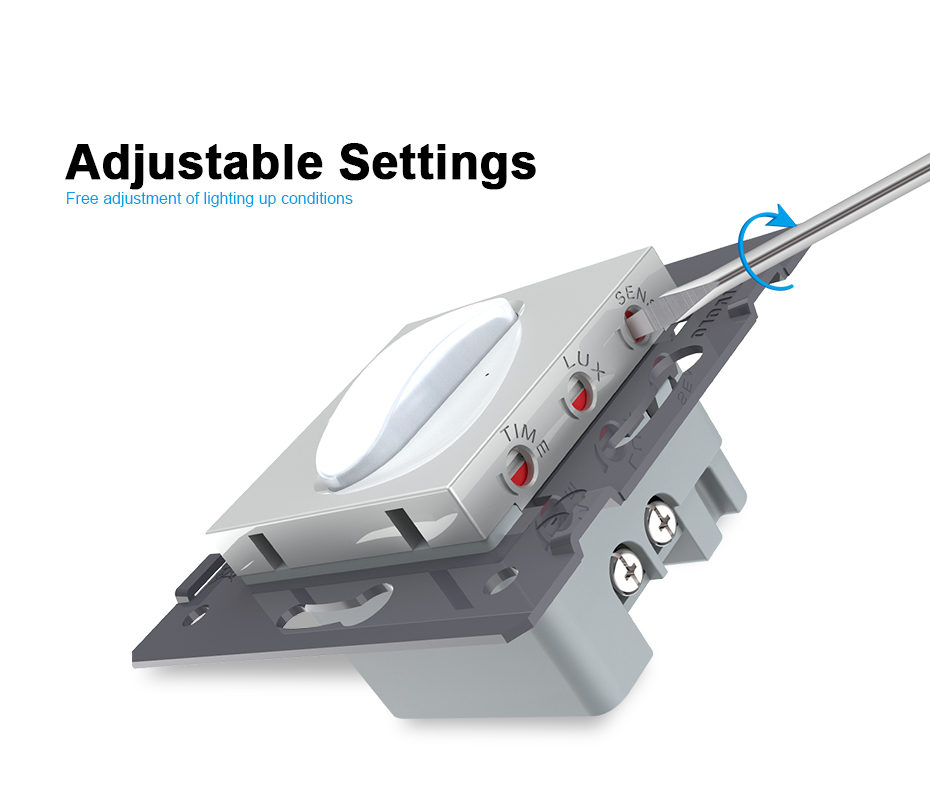
What metrics can be customized?
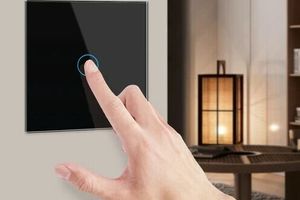
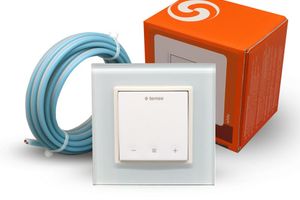
When purchasing a detector, it's important for the user to know how to set up a motion sensor with two regulators and whether its settings can be adjusted at all. Indeed, it is quite possible to customize the device's operation to meet your needs.
You can adjust and configure:
- Light sensitivity
- Sensitivity
- Light off delay
- Optimal mounting angle
Doing this correctly can lead to significant savings on electricity.
The angle of installation affects the device's field of view. This is the first parameter that needs to be adjusted when installing the device. The second parameter is sensitivity.
Adjusting sensitivity is the most challenging part, as you need the sensor to ignore birds, animals, or swaying branches while always detecting human presence.
Next, you need to set the sensor to activate only during dark hours, as it is not necessary during the day. Finally, configure the timer – you simply need to set the duration for how long the light stays on after a person leaves the monitored area.
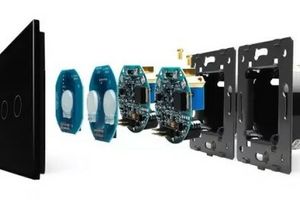
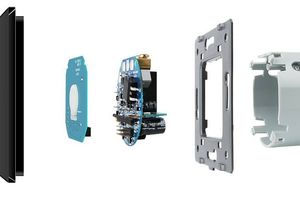
Connection Features
Naturally, the easiest option is to buy a light fixture with a built-in detector. In this case, you won't need to figure out how to connect the motion sensor to the bulb or spend time on installation. However, the selection of such devices is limited, which is why most homeowners purchase the lamp and the motion sensor separately.
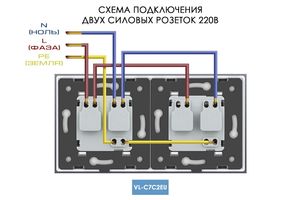
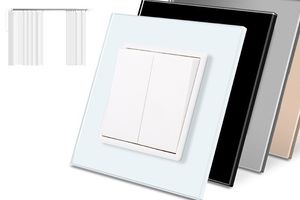
A two-wire sensor connects to the light fixture in a manner similar to a two gang switch. This method is considered the simplest and most accessible:
- First, the detector should be placed in a junction box.
- Then, you need to connect the phase supply wire to it.
It’s important to note that this method only works with halogen and incandescent bulbs, as LEDs will flicker.
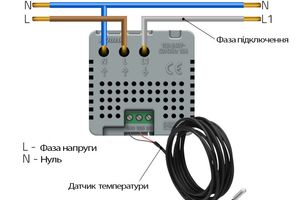
How to connect a three-wire motion sensor? The three-wire setup is used for infrared devices. This type can work with various types of bulbs. The device is connected using three wires: phase, ground, and neutral. To enhance the energy-saving properties of the sensors, they can be combined with LED bulbs.
Let’s look at how to connect a motion sensor to an LED lamp. This is a straightforward process and is similar to connecting it to any other type of bulb. Before starting the installation, make sure to turn off the power. The sensor is connected to the lamp between the light source and the bulb socket.
As you can see, using these devices makes life easier. They allow you to automate lighting and significantly save on utility bills.
For the device to function correctly, it's important to understand how a motion sensor works, how to connect and adjust it properly. We hope this article is helpful to you. If you lack knowledge or are unsure of your abilities, it’s better to invite a professional.
You can purchase quality equipment for these purposes from our store. We will help you choose the right motion sensor that meets all your requirements.