


Underfloor heating is a modern and practical type of supplementary home heating. It is a good alternative to radiators and gas boilers. The main advantage of this solution is the fast and even heating of the entire room. For the system to function correctly and efficiently, proper installation of the underfloor heating thermostat is crucial.
This device is responsible for the operation and safety of the entire system, managing power, preventing emergency situations, and regulating energy consumption. In this article, we will explain how to correctly connect the thermostat.
What is this device?
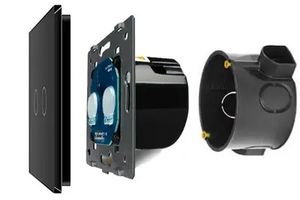
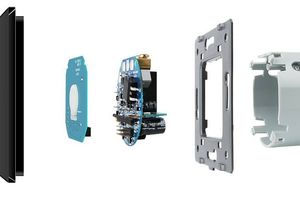
A thermostat is a small special block consisting of two functional parts.
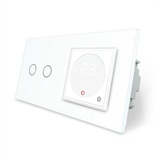
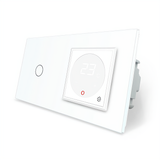
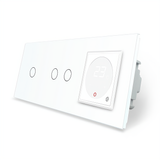
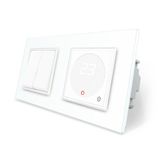
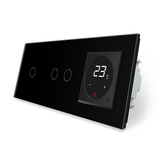
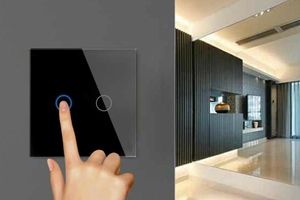
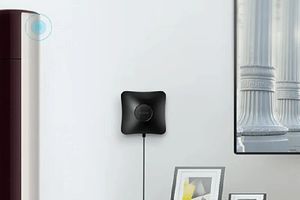
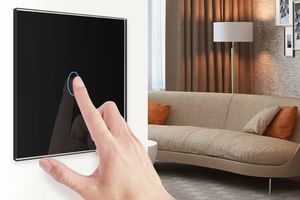
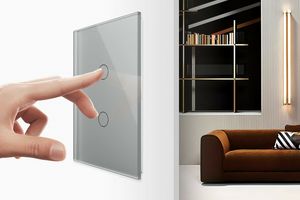
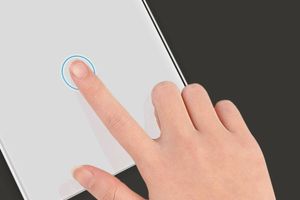
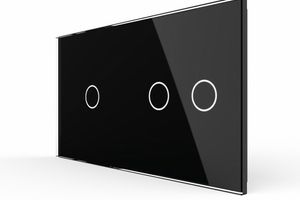
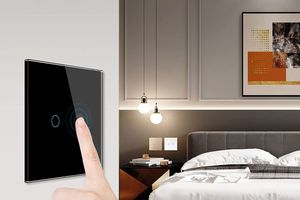
Thermostat - is the control panel, which has various buttons, sensors, and dials that allow the user to constantly monitor the system's operation.
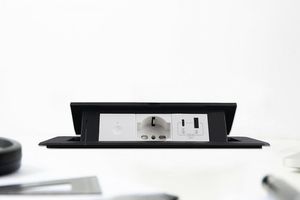
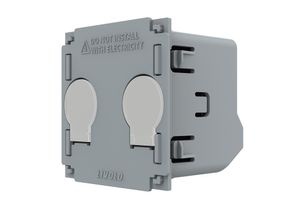
The second part - is a module with connectors for attaching system components, various cables, and wiring. There are three main types of modern thermostats:
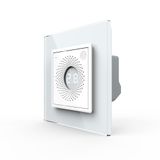
- Mechanical: These are the simplest devices that perform a minimal set of functions. The panel only has on/off buttons and a dial to set the desired temperature. Operation of such equipment is done manually by the user.
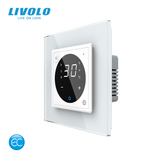
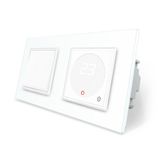
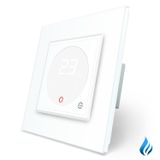
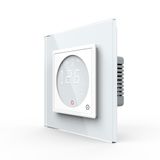
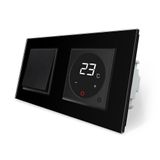
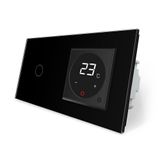
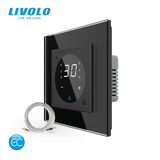
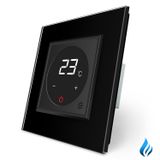
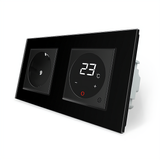
- Digital: This is a more advanced version of the mechanical type. The settings of these thermostats are more precise. They feature a backlit display showing all the information and system parameters.
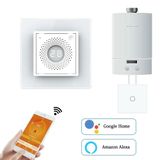
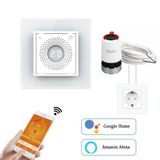
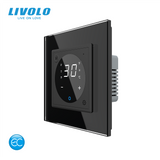
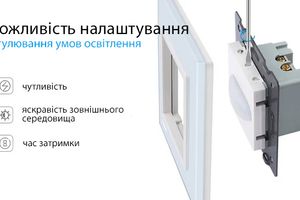
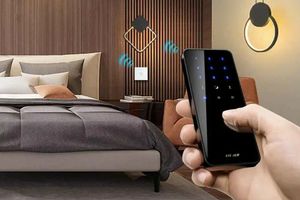
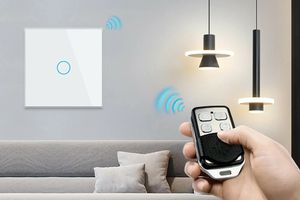
- Programmable: This is the most convenient and modern option. Such a thermostat allows for setting automatic operating modes. These models significantly save on electricity and can be controlled remotely via Wi-Fi. Programmable thermostats can be used for smart home systems.
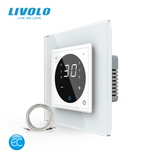
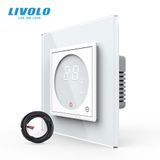
All the mentioned equipment comes with additional temperature sensors, which are of two types: air and remote. The former are integrated into the module, while the latter are installed near the equipment under the covering.
Connecting the Thermostat to the Heating System: Main Steps
Connecting underfloor heating is a responsible but not difficult task. The system has a simple design, so even a person without special skills can handle it. It is important to strictly follow the instructions and the diagram. They clearly describe the entire sequence of actions, so there should be no difficulties.
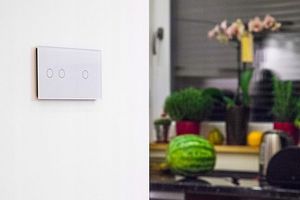
Choosing the Installation Location
The first and most important step is selecting the correct location for installing the equipment. The proper placement of the thermostat will determine the correct operation of the thermostat and the entire system in the future.
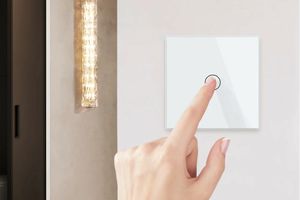
First, calculate the necessary wire length. There should be enough wire to connect the thermostat. Note that the unit should be positioned on the wall approximately 0.5-1.5 meters above the floor. This is important for ease of use and to keep the panel from being too noticeable.
At this stage, you should also follow these recommendations:
- Protect the thermostat from moisture, especially in bathrooms or saunas. It is better to place the device outside these rooms.
- Install the unit in a way that protects it from impacts and damage from doors, window sashes, and furniture.
- Shield the device from direct sunlight and drafts, as they can significantly distort readings.
- Place the thermostat only on a free part of the wall, not covered by interior elements.
- Install the equipment away from devices that emit electromagnetic waves, as they can negatively affect it.
By considering all these factors, you can choose the most suitable location for the thermostat and accurately calculate the amount of wiring you will need.
Proper Preparation is Half the Battle
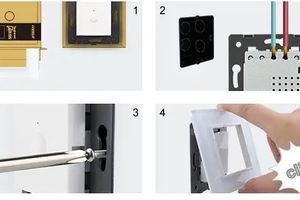
Having determined the installation location, it's time to move on to the preparation stage. Before learning how to connect the thermostat, you should prepare the wall surface based on the type of thermostat being installed.
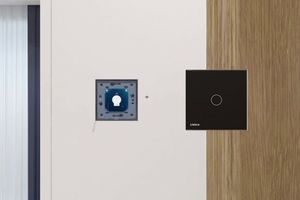
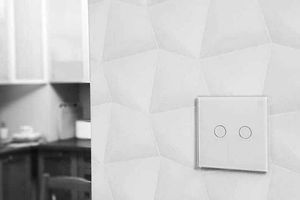
If the housing is recessed, it is installed like a regular switch in a mounting box. In this case, the control panel is flush with the wall and does not protrude. This solution looks neat and aesthetically pleasing. To achieve this, a recess corresponding to the block's dimensions is made in the wall, and small grooves are chiseled out for the cable.
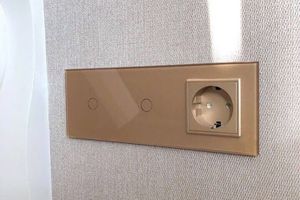
For surface-mounted housings, the installation process is much simpler, as there is no need to create a special place in the wall. The block is simply secured to the wall's surface. However, the panel will protrude, which may not always look aesthetically pleasing.
Before connecting the thermostat, you should install the temperature sensor. This should be done in such a way that the heating elements and the sensor do not intersect, as this would significantly distort the readings.
To protect the device from overheating, it is placed in a special corrugated tube. The other end of this tube must be sealed, which can be done with tape or silicone. To ensure the underfloor heating connection scheme is executed correctly, it's important that the sensor can always be easily removed from the screed and replaced if necessary.
Connecting the Device to the Network
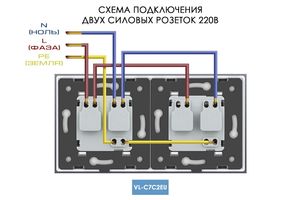
Now we move on to the most important stage – directly connecting the thermostat block to the electrical part. First, pull three wires out of the wall: phase, neutral, and ground. Each is marked with its own color, so you won't confuse them:
- Phase – marked in blue or light blue
- Neutral – marked in red or brown
- Ground – marked in yellow or green
These wires should protrude from the wall by about five centimeters. If you are not entirely sure how to handle this task, study the step-by-step instructions in detail, as they always include a diagram for connecting electric underfloor heating.
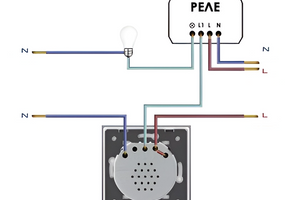
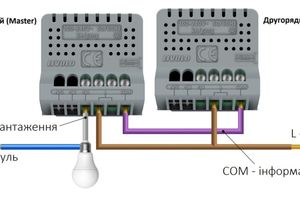
Turn the thermostat so the back is facing you. On the back, you will find several terminals with labels. The connection diagram typically looks like this:
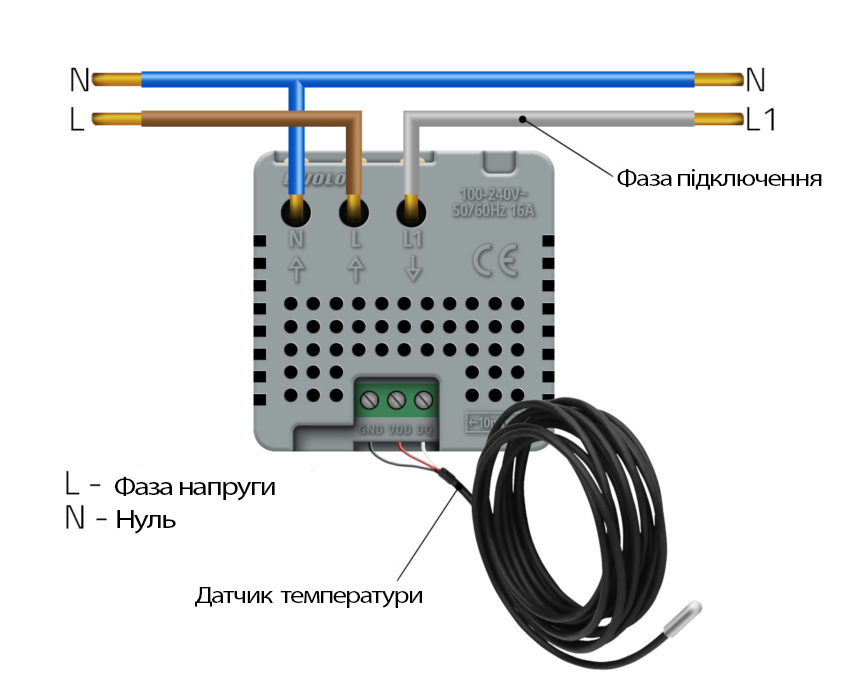
- Contacts GND, VDD, DQ are used to connect the temperature sensor;
- Terminals N and L1 are intended for the underfloor heating wires;
- Contacts L and N are for connecting to the local electrical network.
The grounding wire is connected to the heating wire sheath, bypassing the thermostat. A separate terminal is provided for securing it.
Precautions When Connecting the Thermostat
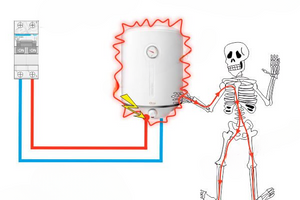
Whether you have experience with such work or not, it is important to remember that you are working with electricity. This means you must follow safety rules.
First of all, you need to check the voltage between the phase and neutral in the wiring to ensure the wiring is in good condition. Then, make sure to turn off the power to the room by switching off the circuit breakers.
Power should only be supplied after all contacts are connected, insulated, and the front panel of the thermostat is in place. Following these simple yet important rules will protect you from electric shock.
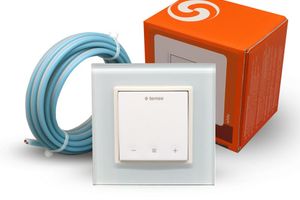
Now you know how to connect an underfloor heating thermostat correctly and safely. To purchase the equipment profitably and with a quality guarantee, visit the Livolo company's online store. The brand's products are sold worldwide, have all the necessary quality certificates, and include various series of devices.
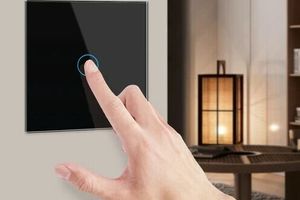
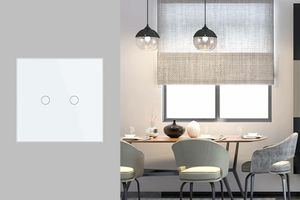
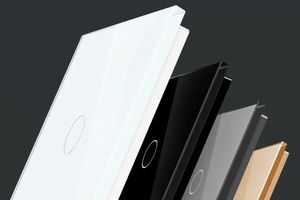
The store's consultants will help you choose the exact model of thermostat that meets your requirements and preferences. Currently, touch screen models of thermostats are in high demand. The manufacturer constantly improves the products and offers consumers a very wide range of items.