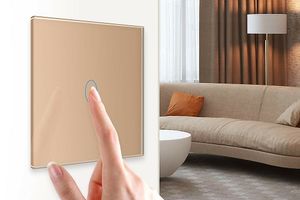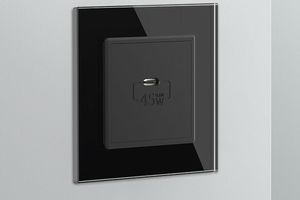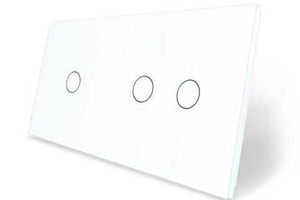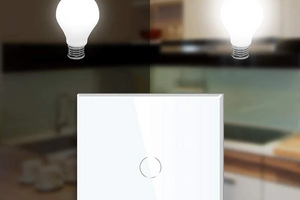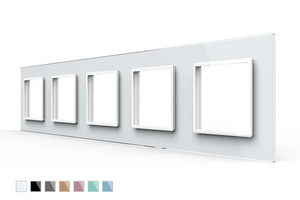


If you're looking for a modern and convenient way to control the lights in your home, touch light switches are a great option. These switches are designed to be sleek and easy to use, with a simple touch allowing you to turn your lights on and off. But if you're not familiar with electrical work, the thought of installing a touch light switch may seem daunting. Fortunately, with the right tools and knowledge, the process is easier than you might think. In this guide, we'll take you through the steps of installing touch light switches in your home.
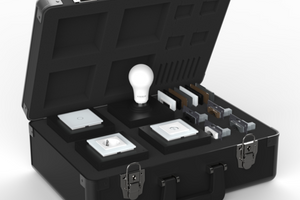
1. Gather the Necessary Materials and Tools
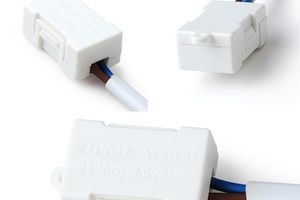
Before you begin the installation process, you'll need to gather some essential materials and tools. You'll need touch light switches, of course, but you'll also need some additional equipment, including:
- Screwdriver
- Wire cutters
- Voltage tester
- Electrical tape
- Wire connectors
2. Turn off the Power
Before you start working with any electrical components, it's crucial to turn off the power to the area you'll be working in. Locate your home's electrical panel and flip the switch that controls the power to the room where you'll be installing the switch.
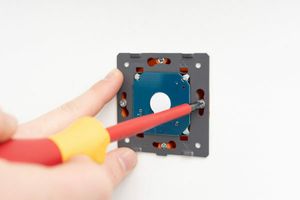
3. Remove the Old Switch
Next, you'll need to remove the old switch. Use a screwdriver to remove the screws holding the switch in place. Carefully pull the switch out of the wall and disconnect the wires from the back of the switch.
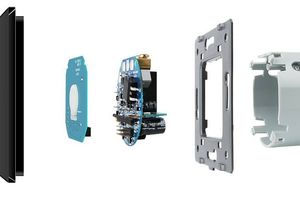
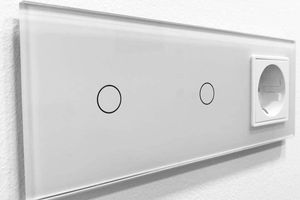
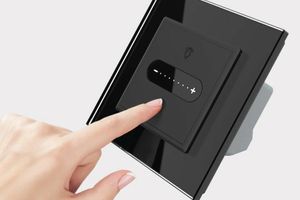
4. Install the Touch Light Switch
With the old switch removed, it's time to install the new touch light switch. Start by connecting the wires to the new switch, following the manufacturer's instructions. Typically, you'll need to connect the black wire to the black terminal on the switch, the white wire to the white terminal, and the ground wire to the green terminal.
5. Attach the Switch to the Wall
Once the wires are connected, carefully push the switch back into the wall. Use screws to secure the switch in place, taking care not to over-tighten the screws.
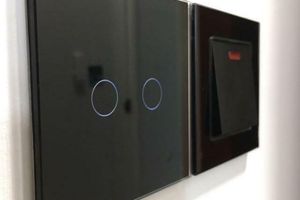
6. Turn on the Power and Test the Switch
With the switch installed, it's time to turn the power back on and test the switch. Use a voltage tester to ensure that the power is flowing correctly, and then test the switch by tapping it to turn the lights on and off.
In conclusion, installing touch light switches in your home is a simple and straightforward process if you have the right tools and knowledge. By following these steps, you can upgrade the look and functionality of your home's lighting system in no time. Remember to always prioritize safety when working with electrical components and turn off the power before beginning any work.