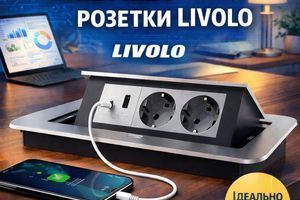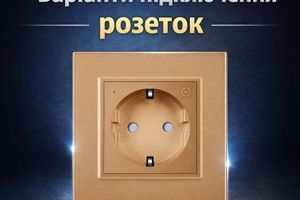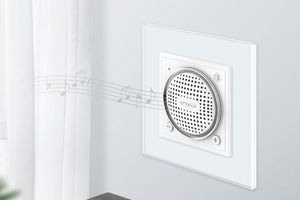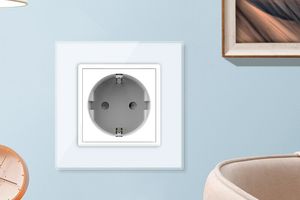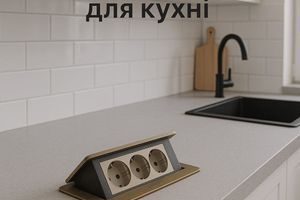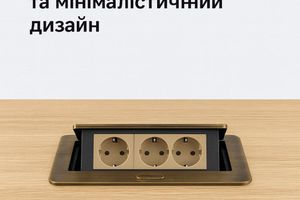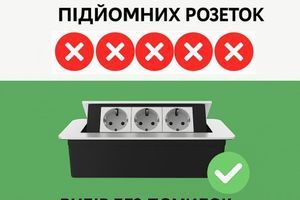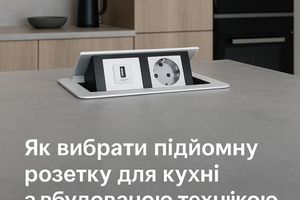
A pop-up socket is an electrical device whose main housing is mounted beneath the surface of a countertop, furniture, or wall. It extends only when needed. Installing a pop-up socket helps maintain the room’s aesthetic appearance.

The importance of proper installation
The complexity of retractable socket mechanisms requires strict adherence to installation procedures. Their use helps avoid visual clutter from numerous connected cables and mounts.
Preparation stage
Depending on the size and number of outlets, as well as the opening method of the mechanism, the base surface must be prepared accordingly:
- Assess the installation location. There must be sufficient space beneath the work surface to install the pop-up socket.
- Choose the drilling point.
- Check the connection. The point selected for connecting the retractable socket must correspond to the incoming power supply.
After assessing and choosing the installation spot, use an appropriate hole saw to cut an opening of the required diameter in the countertop, wall, or other furniture.
Selecting the location and checking the wiring
General standards for electrical fittings allow flush-mounted sockets to be installed at a standard height from the floor, usually 30–90 cm. According to the installation instructions, the socket should be placed as far as possible from heating appliances (at least 60 cm from an electric cooktop and 70 cm from a gas cooktop) and the sink (minimum distance 60 cm).
Tools and materials needed to install a pop-up socket
First of all, you need the socket itself and a mounting box if installing the unit in a wall. Tools required include:
- screwdrivers (standard flat and Phillips, plus a tester/indicator);
- cutters or other tools for trimming, securing, and stripping wires;
- a multimeter/tester for voltage checks, and a rotary hammer (perforator);
- a utility knife for installation and a level;
- clips/terminal blocks.
Before installing the pop-up socket, also purchase consumables. These should include electrical tape, plaster of Paris or wall plaster, cable ties, and spare fasteners.
Preparing the opening for the socket
Before recessing the socket into furniture, select the appropriate hole saw for the rotary hammer. You can work on relatively simple materials yourself (e.g., wood, particleboard, MDF, etc.) or a wall.
Work on stone countertops should be entrusted to professionals for several reasons:
- the need for specialized equipment;
- the complexity of working with the material;
- the risk of chips and other defects.
The resulting opening must be deburred/cleaned, especially when working with wood-based materials.
Installing the socket mechanism
To install a retractable socket, first remove the locking ring and place the unit into the prepared opening. After the fitting is seated, install and tighten the locking ring from the underside of the countertop. For wall installations, use a mounting box first.
Connecting to the mains
Before removing or installing a pop-up socket, be sure to switch off the power at the electrical panel. It’s important to first verify the quality of the room’s wiring and the voltage level. If new circuits need to be installed or old ones replaced, involve specialists.
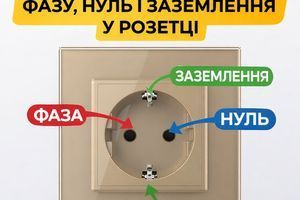
Most modern buildings are equipped with three-core electrical wiring that includes:
- phase or live conductor (L);
- neutral (N);
- protective earth (PE).
The terminal for the live conductor is usually on the right side of the socket; the neutral conductor connects on the left. The grounding terminal is most often located in the center of the unit. Each of these contacts is clearly marked.
Checking voltage in the installed socket
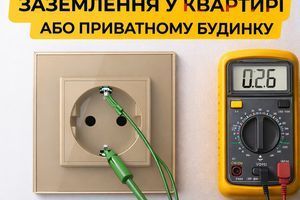
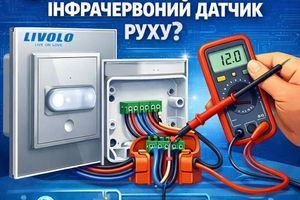
Using basic tools that most technicians have, you can easily determine the quantitative and qualitative indicators of mains voltage. A tester screwdriver is used to detect voltage at a specific point in an electrical circuit and can help identify faults.
When used correctly, tester screwdrivers can also help locate wiring paths within walls. For quantitative measurements at home, use voltmeters and multimeters.
Completing installation and testing
Once the working part of the device is installed, the mains characteristics verified, and any possible errors and faults corrected, the installation is completed and safety checks are performed. Safe installation requires a visual inspection, verification of secure fastening and absence of play, and load testing.
Installing the cover and USB modules
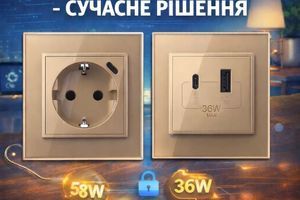
In addition to one or more standard power outlets, a retractable socket may include a USB module and other types of ports (RJ45, USB-A, USB-C).
To install the latter, first remove the power outlet and check the future connection points. Then strip the contacts and connect them in the proper sequence to the new module; tighten any adjustable fasteners if present.
The cover usually comes with the retractable socket and is installed on top of the assembly into the corresponding slots. It provides additional protection against water and dirt and helps keep the unit unobtrusive.
Checking the device after installation
After installation, check that voltage is present and stable at the socket and that the lifting mechanism operates correctly.
Beyond standard power outlets and USB modules, you can also install a countertop socket with modern features such as wireless charging or data ports (internet, audio, etc.).
Safety and maintenance instructions
Basic recommendations for using the socket are largely the same as for other electrical devices. Monitor operation, and if any unusual signs appear (e.g., voltage fluctuations or foreign noises), consider servicing the pop-up socket.
Powering off before repair
Power is turned off directly at the electrical panel. If the user notices shortcomings in the lifting mechanism’s operation or has experienced incidents in the past, repairs should be considered.
Cleaning and preventative care
Like any electrical device, a furniture socket requires regular maintenance. It’s recommended to wipe exterior surfaces with appropriate cleaners weekly.
Devices that are constantly exposed to adverse factors (for example, kitchen moisture) should undergo annual checks of insulation quality and fastener integrity.
Typical installation mistakes
Without proper planning, installing any electrical fittings can be not only inconvenient but also dangerous. This is especially true for placing retractable sockets directly next to areas of high humidity and temperature.
Since such fittings are common in modern kitchen interiors, note that the minimum distance to an electric cooktop and sink should be 60 cm, and to a gas cooktop’s work area at least 70 cm.
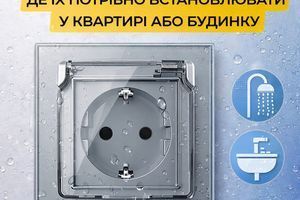
For high-humidity environments, use sockets with appropriate protection. These may include models with a cover and protective shutters for one, two, or three modules.
Installation errors: how to avoid them
One typical mistake is incorrect wire connection—twisting wires together without soldering or terminals. Such fastening is unreliable and potentially dangerous in use.
Technicians often encounter joints between different metals (e.g., aluminum and copper). For these combinations, special adapters exist to prevent contact oxidation.
Final testing after installation
To ensure uninterrupted operation of the pop-up socket, it must be tested before use, including with specialized equipment.
The Livolo online store offers a wide range of pop-up sockets and other electrical fittings with manufacturer quality guarantees.