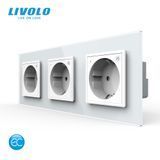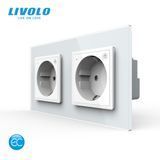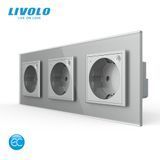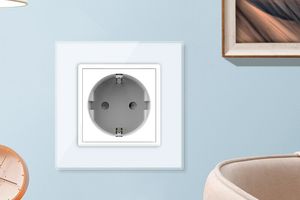
Any electrical fittings occasionally fail for various reasons. To quickly fix the issue and resume using electrical appliances as usual, it's important to know how to repair a socket.
Some malfunctions are simple and can be fixed in a few minutes, while others are more complex. In the latter case, you may need help from an experienced electrician or to purchase a new socket if the old one is beyond repair.

What malfunctions can you fix yourself
There are several types of issues you can handle on your own. For example, if the socket is loose and doesn’t stay securely in place, simply fastening it may be enough. It’s more difficult when a device looks fine from the outside but doesn't work and shows no visible signs of damage.
You can tell something’s wrong with the fitting if you notice the following signs:
- crackling sounds from the socket;
- the device and plug get very hot;
- no voltage — meaning any connected appliance doesn’t work;
- the unit is not securely fixed.
In most cases, damage results from user error — for example, if you’re used to pulling the plug out too abruptly, the socket will eventually break.
Even expensive, grounded devices can fail due to careless or incorrect use. The case inside the mounting box may become loose, components can break or melt, parts may overheat, and in some cases, there may be short circuits or current leakage.
How to prepare for repairs
The first thing to consider is your safety. Before repairing any electrical fittings, turn off the power to your house or apartment. Never start a repair without cutting off the electricity. Use the circuit breaker on your panel to temporarily shut off power.
To repair the device, you’ll need the following tools:
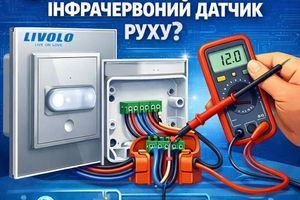
- flat-head and Phillips screwdrivers, or a tester screwdriver (which can act as a voltage tester);
- pliers;
- electrical tape;
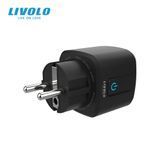
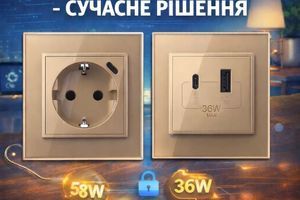
- a replacement device — for example, you can install a "smart" socket instead of the broken regular one.
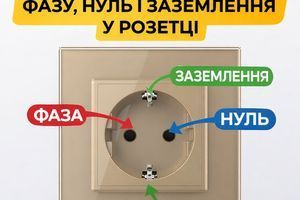
Next, remove the fitting. Use a screwdriver to unscrew the fasteners that secure it to the wall. Remove the device and disconnect the wires from the back panel terminals. Pay attention to the wire colors — green is usually ground, white is neutral, and black or red is the phase wire.
If the power is turned off, you can work without gloves. Use a flashlight or table lamp to help you see better, especially if the socket is wired with the overhead lighting. But it's best to do the work during the day for better visibility and safety.
The repair process depends on the type of socket installed. For instance, it could be a combo socket consisting of several parts. Let’s go over how to fix the problems mentioned above.
What to do if the socket crackles
If you hear crackling sounds, don’t postpone the repair. Pay attention to how the fitting behaves. If there’s no smoke, sparks, or burning smell, the fix might be simple. First, disconnect power, remove the faceplate, and unscrew the fasteners.
Crackling usually means there’s poor contact between internal components. The sound is caused by sparking due to arcing. To properly repair the socket, you need to identify the cause.
Contact terminal arcing
This is usually an easy fix and depends on your socket’s design. You may just need to tighten the screws holding the wires or check the condition of the lever terminal. Also:
- Remove the wire from the terminal.
- Check it for any damage.
- Reconnect it properly.
Then simply reinstall the socket in its original position.
Plug contact arcing
Check the prong contacts. These spring-loaded clamps can become loose over time, causing the plug to fit poorly. You’ll notice the issue if there’s a big difference between the left and right clamps.
Insert a plug into the socket. If it feels loose, the problem lies in the contacts. Use tweezers to compress the clamps and restore their tension. This issue often arises when using European-style plugs in older sockets.
Broken wire at the terminal point
This typically occurs near the wire’s entry into the terminal. If the socket is installed correctly and there’s enough wire length, you can easily:
- Remove the damaged section.
- Strip the ends of the wire.
- Clean out any broken pieces.
- Reconnect everything properly.
If the break is too far from the end of the wire, the repair will be more difficult. If you can't see the damaged area, use a screwdriver to gently move the wire aside — insulation alone won’t hide the weak point completely.
If a socket is crackling, do not plug any devices into it — this includes furniture sockets or any other types. Even low-powered appliances can trigger a short circuit, so inspect and fix the issue as soon as it appears.
What to do if the socket is overheating
Overheating is caused by transitional resistance at a section of the circuit. It often results from ignoring a loose connection. If you don't tighten the contacts in time, the fitting will begin to crackle, and eventually, a carbon deposit will form from local electric arcing.
Eventually, single-core wires may fuse with the casing or with each other, preventing proper current flow. This is common when using powerful appliances. If not repaired in time, the socket will keep heating up and may even melt its top portion.
In that case, the unit must be completely replaced — even if it’s a socket intended for TV connection. Repairs are only possible in the early stages of overheating. To resolve the issue, you can:
- cut off any burnt or fused wire segments;
- replace screws that have welded to the casing;
- compare the socket’s specifications with those of the device — the appliance might be too powerful.
To avoid overheating, always check the permissible load for both the socket and the supply cable. If the outer casing has melted, the mounting box may also need replacing.
What to do if there is no voltage
First, make sure the issue isn't with the appliance itself. The socket might be fine, and the device may be faulty. Plug in another appliance to test functionality. If it works, you’ll need to replace the faulty device.
If no appliance works, check the voltage in each socket opening with a tester screwdriver. The problem may be in the wiring, not the socket. To be sure, unscrew the fasteners and remove the socket.
Then:
- Check the cables coming out of the wall.
- Inspect the mounting box.
- Test the fuse box and other components.
Most of the time, the issue lies in the mounting box. Less frequently, the distribution box may be faulty, and wire problems are rare. However, if a wire was accidentally damaged (e.g., during wall drilling), it will need to be replaced.
What to do if the socket is falling out
This isn’t really a malfunction but rather a result of rough handling. Many people ignore this and continue using a loose socket. But a dangling or falling socket is a fire hazard. It can cause sparking and potentially ignite a fire.
To fix this issue after turning off power to the house or apartment, do the following:
- remove the front panel of the socket;
- loosen the screws by turning them 4–5 times counterclockwise;
- inspect the socket recess. If it's fine, the socket likely came loose because the plug was yanked;
- reinstall and securely fasten the socket by tightening the screws.